
This past weekend I posted my very first video of Akram’s Ideas to YouTube. Have you watched it? What did you think of it? It was my first video so I’d love any and all feedback.
Anyways, In the video I made Raspberry Red Velvet Cupcakes. I topped these delicious cupcakes with a fun candy melt decorative topper in the shape of a heart.

Candy Melt Decorative Toppers
Making the candy melt decorative toppers was so easy I decided to make a more complex owl for my niece Layla’s birthday a few weeks ago.

Here’s a step by step of how to make the owl candy melt decorative toppers. Keep in mind whether it’s hearts, owls or your own design the same principles apply.
Draw out Your Sketch
First you need to have a sketch or design you want to make with the candy melts. Simply trace out your design on a sheet of paper.

If sketching is not for you can always print something off the computer. Keep in mind you want a design that has definite lines you can follow.
You can sketch (or print) a single design on a sheet or have it repeat several times on the page. It depends on how many candy melt toppers you want to make. I just made the one sketch and moved it as I worked, but the template would have been useful.
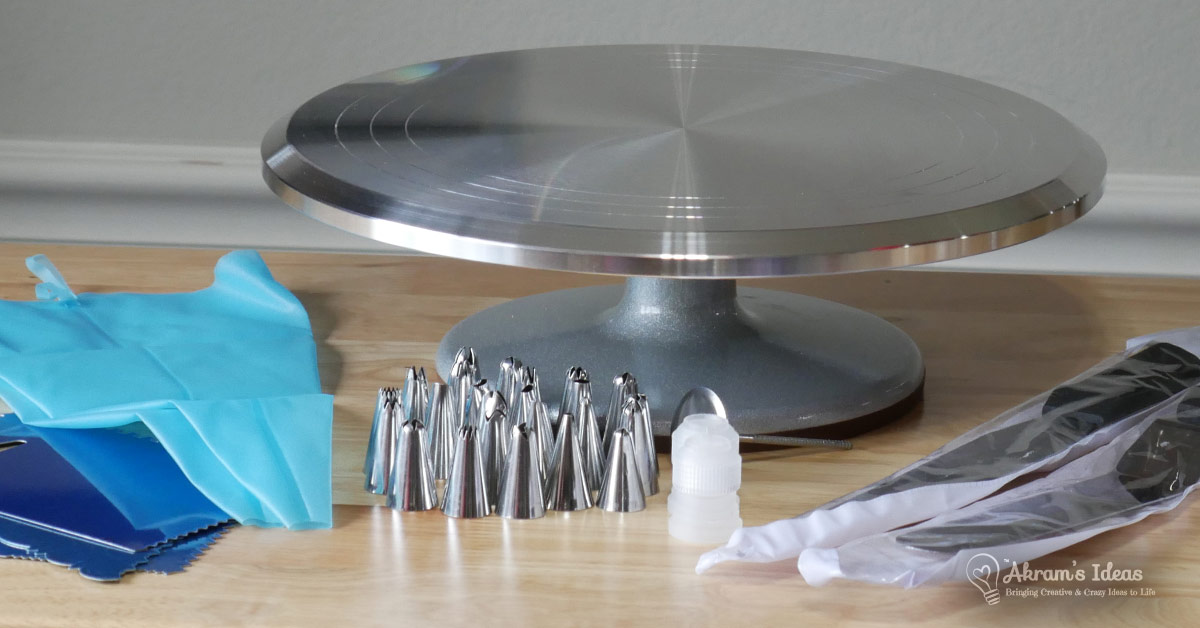
Gather your Tools
To make these candy melt toppers you will need the following items:
- Candy Melts – Colors depend on your project
- Disposable Plastic Frosting bags (or candy melt bags)
- Frosting tips ( optional but gives you better control)
- Toothpicks
- Wax paper
- Your sketch
For the owl toppers I made both pink and blue. Each owl has a base pink or blue color and then a lighter shade of the same color. In order to create the lighter shade, I melted some white candy melts into the base blue/pink candy melts.
If you are making a simple design (such as the hearts I mentioned earlier) you only need one color of candy melts.
Making your toppers
Prepare your frosting bag by adding the frosting tip. I used Wilton tip #3 and #2 for this project. Both are simple circle tips. Tip #2 is slightly smaller and will be used to create the outline. Tip #3 will be used to add fill color.
If you don’t have frosting tips you could just snip the end of your frosting bag. You’ll want a very small opening to squeeze out the candy melt. While this can be done, I found using the frosting tip to give a little more control.

In small bowls start with your base candy color (in my case either the blue or pink). Melt the candy in the microwave. You don’t need a lot of candy melts to do this, I used just under a 1-cup of candy melts.
Once melted place the melted candy into the frosting bag. Set your sketch down on the counter and place a large sheet of wax paper on top. Make sure that your sketch is dark enough to see under the wax paper.

Using the frosting bag (full of candy melt) trace over your sketch on the wax paper. once you have one, gently slide either the wax paper or sketch over, to make another one. Repeat until you have filled the wax paper with outlines of your design.

Next melt your fill color. If you are using the same fill color, you simply pipe in the color into your outline. For the owls I used the same outline color for the wings.
If you are using a second color you’ll want to melt it and bag it now. In my case I simply took the leftover base color added a few white candy melts and mixed them once melted.

Using the larger tip #3 I filled the outline (which created a sort of well) with the second color. Use a toothpick to smooth out the fill color across the design.

Once you’ve filled all the outlines, the candy melt toppers should have dried enough to add other accents. In the case of owls I used white candy melts to make eyes and then the darker color candy melt to make the pupils.
To make the beak, I used the darker color and just piped a small dot in the center. Using my toothpick I I pulled the dot downward to create a beak shape.

Place your sheet of wax paper on a cookie sheet and freeze until ready to top on cupcake or cake.


How cute are these!!! I haven’t cooked with candy melts in many years. You’ve got me thinking of fun ideas for Canada Day (red maple leaves) and all sorts of fall celebrations now. Thanks for the tasty reminder about this cool ingredient.
♥ Jessica
Miss Jessica, I’m glad I’ve given you some ideas for fun baking. Maple leaves sound fun, maybe on top of a maple flavored cookie, sounds tasty. You’ll have to share if you do end up making anything, I’d love to see your creations 🙂