
Back at the end of March I made mention of the Sew for Victory, sew along, being hosted by Rochelle, of Lucky Lucille. The idea behind the sew along is that everyone participating would sew a 1940’s or 1940’s inspired pattern, for the month of April.
Early on I had a plan of action. Having collected many 1940 patterns recently, I had a few choices but decided to go with a 1946 Simplicity pattern 1649.

My plan was to sew version 2. I liked the short sleeves and the pockets. I felt like the style of the dress was simple and fun to use as a day dress; something to wear around the house for sewing and the like.
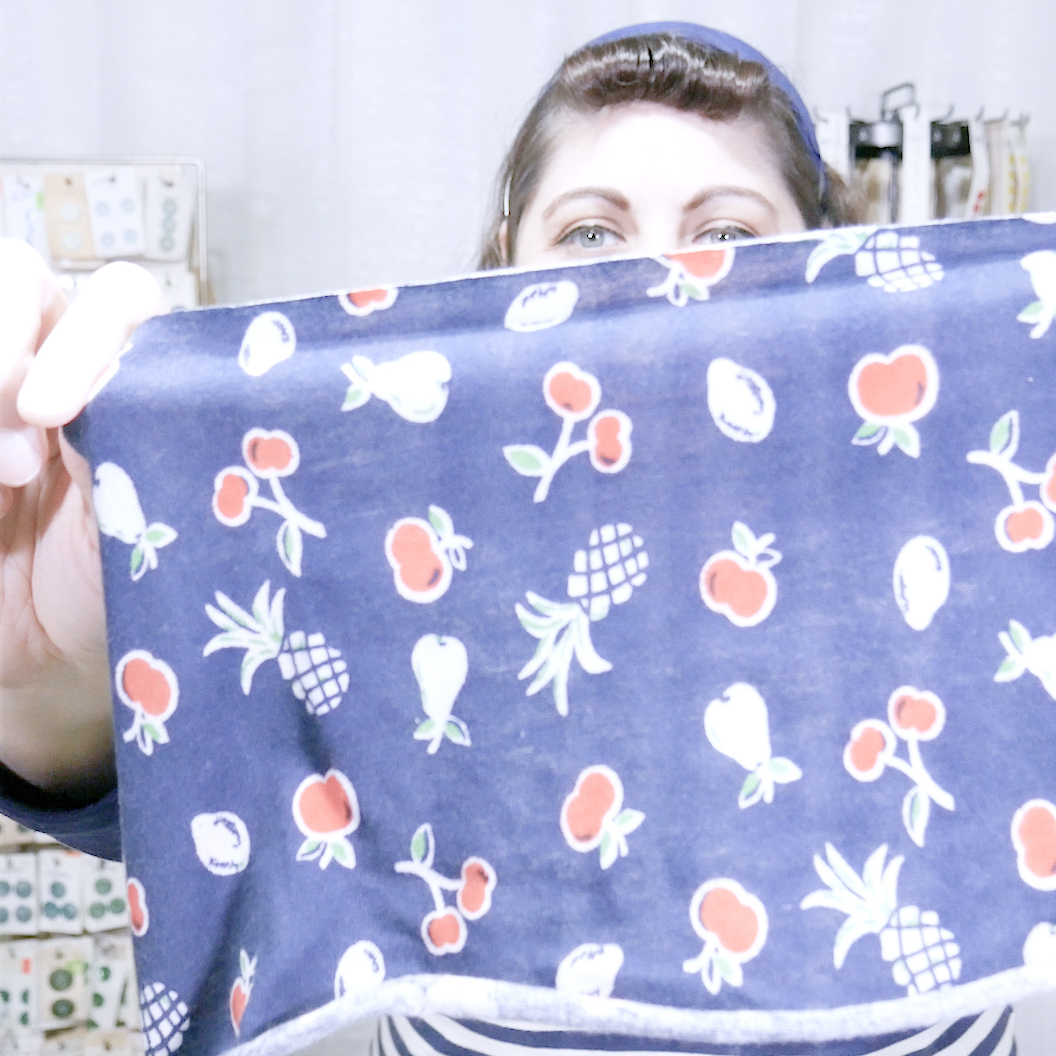
Originally I was going to make the dress in a pink flower fabric. However, after going though my fabric stash a second time I found a fabric rather similar to the one on the pattern.
I didn’t actually have enough of the pink and white stripe material to do the whole dress, but just enough for the main part. I also found that I had some solid pink fabric that was a good match to the pink stripe in the my selected fabric that could be used for contrasting parts, such as the collar and facing.

With the pattern and fabric all planed out it was time to get started on the project. Sadly though, April is a very busy month, being the end of the spring semester. This means I would be busy with students’ final exams and projects. Therefore I didn’t even really start this project until April 26. That left me about a week to work on the dress, though most of that time I would be at work and could only work on the dress in the evening, I wasn’t sure if I’d meet the April 30th deadline.
Nevertheless, I began with grading the pattern. The pattern I had was for a 36 bust, but I needed a 38 bust, so I used the Pattern Grading 101 tutorial from Elegant Musings, to adjust the size.
I had to grade both the bodice and the skirt waist. Since I prefer a higher waistline on my dresses, I shorted my bodice length.

By the end of the first day I had traced and graded my pattern, cut out all the pieces. Doesn’t seem like a lot but it did take quite a long time.
The following day I managed to sew together the bodice sides and skirt sides.

Lately I’ve been favoring the use of a French seam, because of how clean it looks on the inside. However, because of the time crunch and for more authenticity, I decided to use my new pinking shears to pink the seams. This saved a lot of time and looked fairly well.

Since I had to work on Monday, I didn’t get to work on the dress until that evening after work. I did however managed to sew the collar and facing to the bodice.
Because I was short on main fabric I opted to use the pink on the collar, I thought that would be the best place for contrast and was really happy how it came out.

While I was pinking the seams I decided last minute to French seam the skirt to the bodice, just so the waist seam would set a little flatter, at least that was my thought.
When attaching the bodice to the skirt, there seamed to be a bit more bodice than skirt, so I had to ease it in.

At this point I had two evenings left to work on the dress, but because of late work nights I thought there was no way I would finish the April 30th deadline. Then Rochelle announced that she extended the deadline to May 5th. Yes! Just enough time for me to finish the dress.
Thursday evening I worked the sleeves. One of the things I really liked about the pattern was the contrasting direction of stripes on the sleeves and pockets, and really wanted to keep that feature. However, because of my limited fabric I had to cut the sleeves in pieces. I managed to make these spliced together pieces meet at the under arm of the sleeve so you can’t even tell that the sleeve wasn’t cut as one piece.

I suspect that the sleeves on the original pattern are a bit on the baggy side. However, since I have what we call Oklahoma arms, and sleeves always tend to be a bit small for me, I decided to grade the sleeve as I did the bodice. Also I had to accommodate the 1/2″ seam on the sleeve pieces to get it all attached. I must have over compensated because the sleeve was much larger than the sleeve hole.
After trying to ease in the sleeve, I finally gave up and decided to gather the top half of the sleeve, then attach it. While it’s not like the original pattern, I rather like the somewhat 50’s look of the sleeve.

With the sleeves done now all was left was to add the buttons and pockets. When I got ready to add the buttons I discovered I didn’t have enough matching pink buttons in my button stash. This meant that I had to go buy some. I was hoping to find a nice vintage set of buttons, and I needed 12. So, I waited till Saturday (May 3) to hit all the area antique stores in search of buttons.
While I did manage to find a few pink buttons, I finally found a home run at store number 5. I bought a darker pink button, close to the contrasting fabric color. They were a $1 for 10 buttons, so I bought 2 packs for a total of 20 buttons. The following morning I added the buttons and buttonholes.

The last thing to do was to add the pockets. The dress fabric was a bit thin, and while there was no mention of a facing for the pockets I decided to line the pockets, with the contrasting pink fabric.
The pockets also doubled as a belt loop, with an accent fold. I really liked this whimsical feature and I wanted to keep the striped fabric on the fold. This meant I had to sandwich the stripe fabric, pink contrast and just enough remaining strip fabric at the fold to create the pocket.
To avoid any harsh seams I decided to sew the pieces together with outsides facing and then turn the whole pocket. This proved to be a bit of a challenge, because some how I stacked the fabric pieces wrong, and when turned I ended up with two right pockets.
I had to redo one of the pockets 3 times before I realized what I was doing wrong and managed to get a left pocket out of it.
I added the pockets to the dress, by topstitching them in place.

With the pockets finally sorted I was done with the dress, late Sunday evening. All that was left was to take proper pictures of me in the dress.
So early Monday (May 5 and the sew along deadline) I managed to try on the completed dress and take pictures.

With the belt loops the dressed needed to be worn with a belt and I had the prefect one. It just so happens I had gotten a pink heart belt on clearance last year and it was a prefect fit for this dress.

The last addition to the dress was a vintage broach I came across while antiquing for buttons. These little birds were not only adorable but just the right colors for the dress.

A few minor issues I have with the dress is that the bodice is a bit on the baggy side. Not much but I can tell. I assume the original dress has a loose fit, so with the grading I think it made it baggier. Other than that I really love this dress.
It’s has a loose fit and it’s very comfy in the soft cotton fabric I used. I also kind of feel it has a more 50’s look, coming from the gathered sleeves. I was also told that the color/fabric kind of looks like a candy striper uniform, but I can’t help but love it. Overall it’s just beautiful and I love everything about it!

In the end I think I did a good job for my first sew along, short time frame and only having really learned to sew about a year ago or so.


Awesome dress!!! I adore the cut, colours, buttons, belt loops. every last stylish, cute, wonderful detail! (As well as how you accessorized it – that heart belt is stellar!) You did a fantastic job, dear gal!
♥ Jessica
Thank you so much Jessica, that means a lot coming from you since you have such an amazing style.