
Happy St. Patrick’s day everyone!

Since I’m like 1/8th Irish on my mother’s side, her father being half Irish. I figured I should get my Irish on today, besides my favorite color is green. With that said I knew exactly what I’d wear today.
A while back I purchased some black cotton fabric covered in green embroidered clovers. The fabric was similar to my Cherriful skirt I made this past summer, and thought it be prefect as a skirt of its own.
Since I buy the majority of my fabric secondhand I’m limited by the amount of fabric. My original plan was to make a gathered skirt like the Cherriful skirt.
Tutorial: How I made my Lucky Skirt
While I did make a gathered skirt I made some adjustments. Here’s what I did.
Fabric Measurements

For a true gathered skirt you need fabric that is your waist length wide plus at least 10 inches. The more fabric you have the fuller the skirt.
In my case my fabric was 54 inches, that’s my waist plus like almost 20 inches.
The length of your fabric should be your desired skirt length plus 4 inches for the hem and 2-1/2 inches for the waistband.
My fabric was 36 inches in length; this meant that after in account the waistband and hem my skirt would be around 29 inches long.

I prefer my skirts to be around 24 inches long from the waistband. However, for this project I didn’t know what to do with the small amount of scrap fabric I’d be left with if I cut the length. Besides I thought the longer skirt length would give it a more vintage feel.
Sewing Your Seams

For this skirt I decided to fold the length of my fabric in half and cut along the fold line, creating a front and back piece that would end up with two side seams.
For my side seams I used a 1/2-inch seam. Why 1/2 instead of 5/8? Because I wanted more gathers, so needed more fabric and fewer seams.
I opted you do French seams, I love French seams. I did this by sewing 1/4 inch with the wrong sides facing. Next I pressed the seam open and then trimmed close to the seam. Turning the fabric, this time right sides facing I sewed another 1/4 inch, thereby incasing my (in total) 1/2 inch seam.

If you’d like to learn more about French seams I suggest checking out Professor Pincushions video tutorial.
After sewing my two side seams, I realized that I could have avoided cutting the fabric in half and just included a single back seam. I should have, and would have if I had thought about it. But I’m so used to sewing two seamed skirts, it didn’t even dawn on me.
The Waist Band

The waistband is 1 inch wide, simply because my elastic was 1 inch wide.
To create the waistband first you’ll want to create a finished edge. You can do this with base tape, but since I had none I opted to fold overview the edge.
I stared by folding over 1/4 inch of the skit top to the inside and pressing. The I folded over another 1/4 inch, this hides your raw edges and creates a 1/2 inch finish. I sewed this down sewing right down the middle of 1/4 inch fold.
Then from the edge of my finished edge I measured down one 1 inch and marked this as my fold line. I folded over the top (finished edge) of the skirt along the fold line and sewed right back on top of the edge stitching.
Leave about 1 inch opening to feed your elastic through. Your elastic should be your waist length minus 2 to 4 inches, depending on how stretchy the elastic is.

Feed the elastic through the waistband, and then sew the elastic ends together. Finally finish closing your waistband.
The Hem

For the hem, I folded the bottom of the skirt 2 inches towards the inside. Pressed the edge, then turned another 2 inches, thus creating my 4-inch hem.
I sewed the hem down using a standard blindhem stitch.

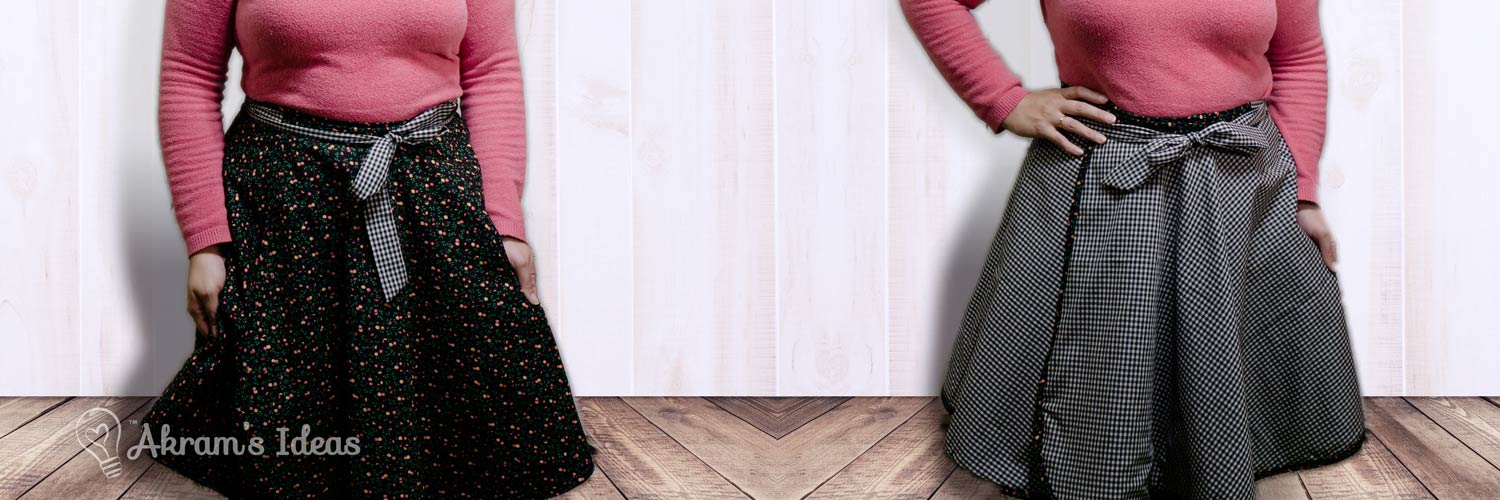
As I said earlier, I didn’t want to waist any fabric, thus the skirt is longer than I usually wear my skirts. The skirt comes up just above my ankles, but I think it gives it a nice vintage flare.
My Lucky Skirt
Why lucky? I mean it is covered in clovers, but no four-leaf clovers.
Let’s just saw it was lucky that I finished it before St. Patrick’s day. I mean I only started it at 10 pm last night. And to think it only took about 2 hours to make.

I hope you liked this quick tutorial. These steps should work for any basic gathered skirt.
I’m sure that some one with more expertise has an even better tutorial out. I just thought I’d share.


Add comment