
Today I will be posting my first sewing how-to. I’m a little nervous as I’ve only been sewing for a little over a year now, and I’m not really sure if I can even explain all this correctly. So if you have any advice or if you need clarification in the steps please let me know.
For my first tutorial I decided to go with something super easy, a simple pillow case. I made these lovely pillows as a baby shower gift for my sister.
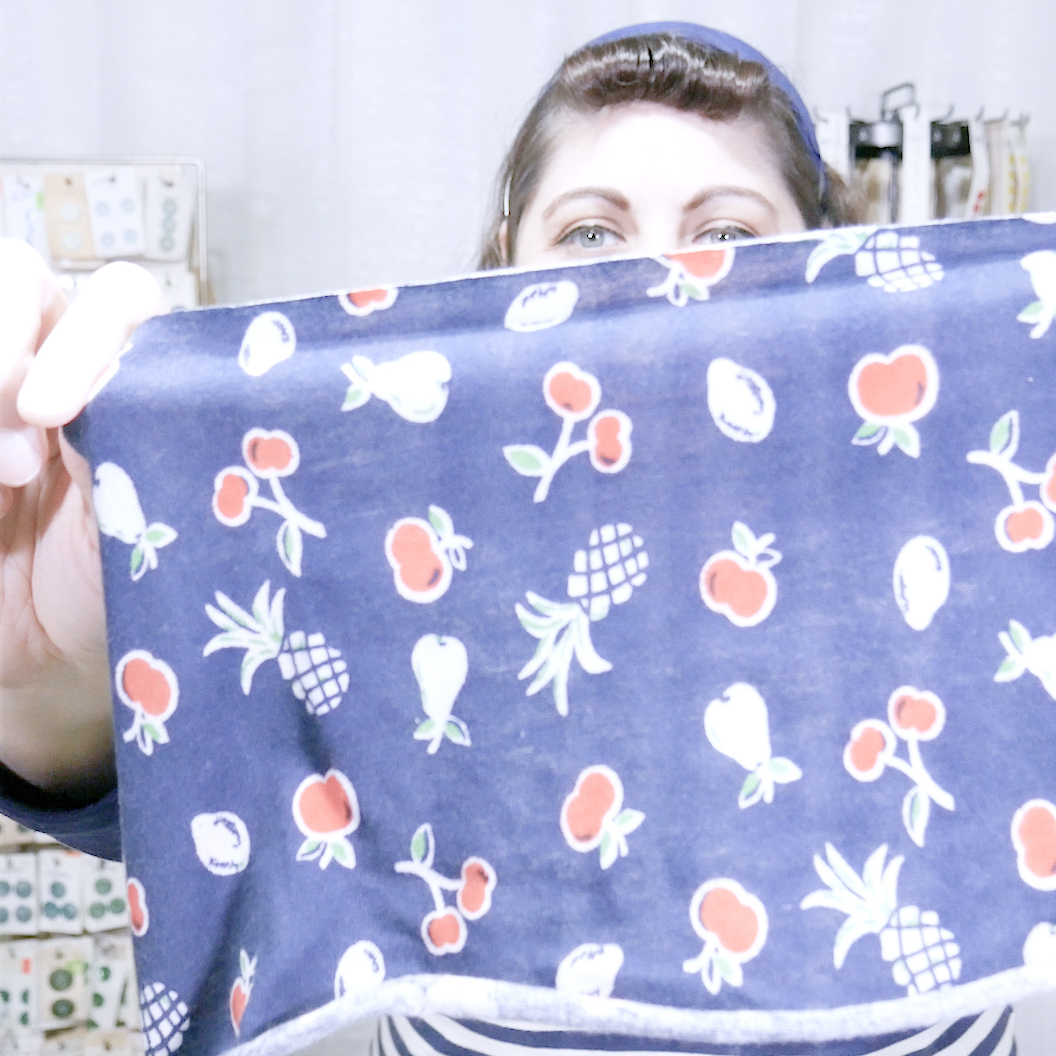
I had come across the ABC fabric at an antique store and there was just enough there that I thought I’d make some lovely pillows that the baby could lay on.

Okay so on with the tutorial.
First I started by buying a regular size pillow. I got mine at Walmart for about $6.00. The next step is I cut the pillow in half through the stuffing. I then pin each half up with pins the best I can and then sew up the open side.
Why do I do this? We’ll accent pillows are expensive and stuffing a hand-made pillow is time-consuming. This way I get a cheap pillow that’s already stuffed. Also I get a nice small rectangle shaped pillow, that makes for a cute accent pillow. I also thought that they were a prefect size for a toddler, so hopefully my niece to be will be able to use them later on as well.

Now that I had the actual pillows ready, start on the pillow case.
The fabric I was using was 48″ wide, which I folded in half, length wise. I then cut out about 13-1/2″ tall rectangle.
Next I folded over 9″ from the top . Then I fold about 5-1/4″ back over.


Next fold about 1-1/2″ to 2″ back over the edge of the fabric. This will all be sewed in place and help to create the pocket to allow the pillow to be stuffed inside the case.

On the other side of the fabric I fold over 18″ .

Once the fold are in place I pin the fabric and get ready to sew.

I sewed 3/8′ seam all the way around , and clipped the corners.


When trimming corners cut as close to the seam without cutting the seam. This will create nice square corners on the flip side.
Once I was through sewing I turned the pillow case inside out and shoved the pillow inside.

The pillows came out really nicely and I really like their size. I hope this tutorial makes sense and that you find it helpful.


Nicely done! Thank you!
Glad you like them.