I’m big on recycling and usually can’t get myself to throw away any kind of container. I keep all my Cool Whip bowls for crafts and plastic storage. I keep frosting containers and my favorite Cheese Wiz jars for all sorts of storage. So, when I recently bought some bottled lemonade I knew there just had to be something with the bottles.
Hubert’s Strawberry Lemonade
I am a connoisseur of strawberry lemonade. It’s probably my favorite summer time drink, so when I came across Hubert’s Strawberry lemonade at Wal-Mart, I knew I had to buy it. Hubert’s Lemonade comes in different flavors, but thus far I’ve only tried the Strawberry, which is sold in a 4 pack of glass bottles.

The lemonade is a little on the tart side, but I still like it and I think it has a nice refreshing taste when drunken chilled. After finishing off my 4 pack I knew I would have to buy more, but I started thinking what should I do with the bottles.
Painted Bottle Vases
Over on Pinterst I’d been seeing all sorts of tutorials on making painted vases out of glass bottles. Then I pined one from “Make It Create” website. I really liked how their bottles came out and how they used twine around the top of the bottle to cover up the rim.
Cleaning the Bottles
I looked around the house and found I had all the supplies I needed to get started. I began by peeling off the labels, then using some WD-40 I worked at getting all the sticky label residue off. After I felt like the sticky was gone I washed the bottles on the top rack of the dishwasher. Once out of the dishwasher I cleaned them again with some 409 cleaning spray, just to make sure I had a smooth outside surface.

Painting the Bottles
I had some left over pink interior paint from my closet redo and some blue from my “Happy Room” (home office) that I used to fill the bottles. I used a long Sonic Drive-In milk shake spoon to scoop the paint into the bottles. Then I put the lid on the bottles and shook it about until it was completely covered. Next I removed the lid and turned the bottles upside down on the paint lid to drain any excess paint. Placing them on the pain lid was a mistake as they drained a lot and it started to spill everywhere. the next time I attempt this I will use a Cool Whip bowl to drain them in.

Other than the draining paint getting everywhere the only other issue I had when painting is that the paint I used was Behr paint and primer in one, which meant it was really thick. I think without the mixed primer the painted would have been thinner and easier to mix up in the bottle to cover. After the bottles drained I placed them in a cardboard box to dry. The bottles dried for about four days, while I was out-of-town.
A Gift for Chic Girl
Now from the beginning I had planned to give two of these vases to my sister @TheChicGirl as an extra birthday present along with her Mickey Mouse purse I made her. I wanted to customize them for her by adding her logo to the vases.

I had some leftover printable clear label paper from another craft/organization project that I would use to create the labels. I created the labels in Illustrator using the font Kaileen to write out “Chic Girl”. After printed I cut the words into two so that I could place one on each of the vases.
Final Results
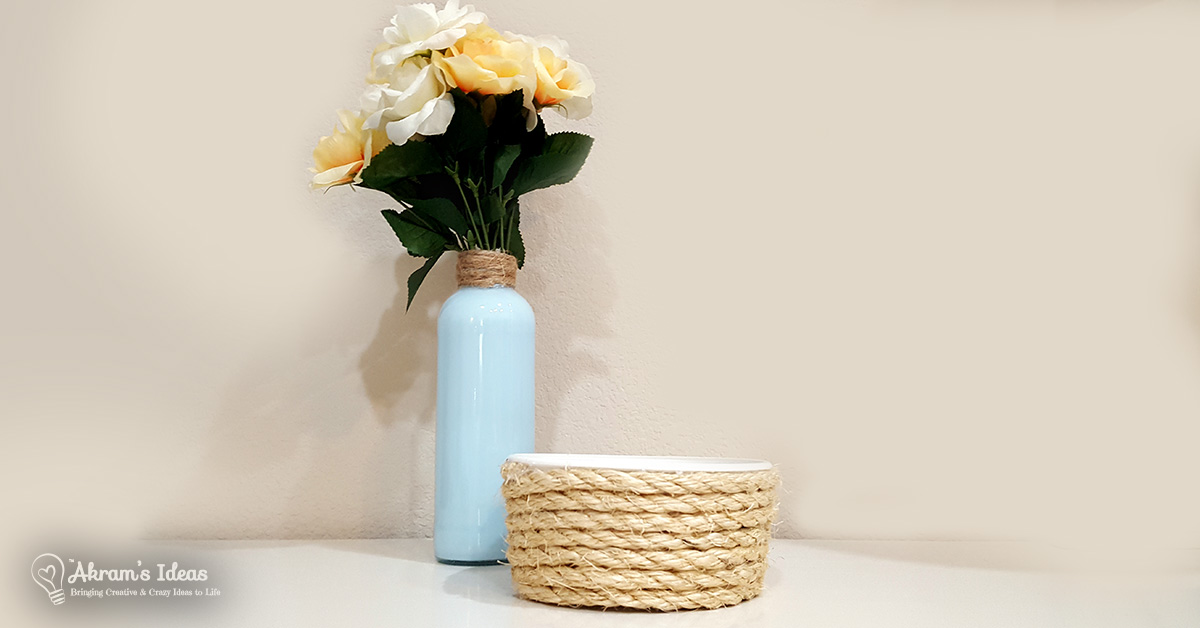
After putting on the labels I used my hot glue gun to secure twine to the tops of the vases. Lastly, I used some dollar fabric carnations I got at Wal-Mart to put in the vase. The first time I attempted this I actually scratched the paint on the inside, because of the tip of the flowers. After retouching the paint, I decided that I would wrap a plastic sack around the flower stem and then place it in the vase, so there were no sharp edges.

I really like how these painted bottle vases came out and I hope she likes them. As for the blue painted bottle vases, I plan to do something beachy with them and place them in my beach themed family room.


I got better idea! make colorful upcycled painted bottle vases.I’ll give a try!
thanks