My sister @FateBee is expecting her first child in February. She was having a hard time finding maternity clothes that fit and ones she liked. So, she’s enlisted me and my new sewing skills to make her a couple of dresses.
I buy a lot of vintage patterns (I should really blog about that one day), and one of the patterns I had gotten in a lot of vintage patterns was a 1960’s maternity dress. My sister is very modern trendy so the idea of a vintage dress wasn’t appealing. That is until she decided she could use it as a Halloween costume and do a sort of Mad Men theme.
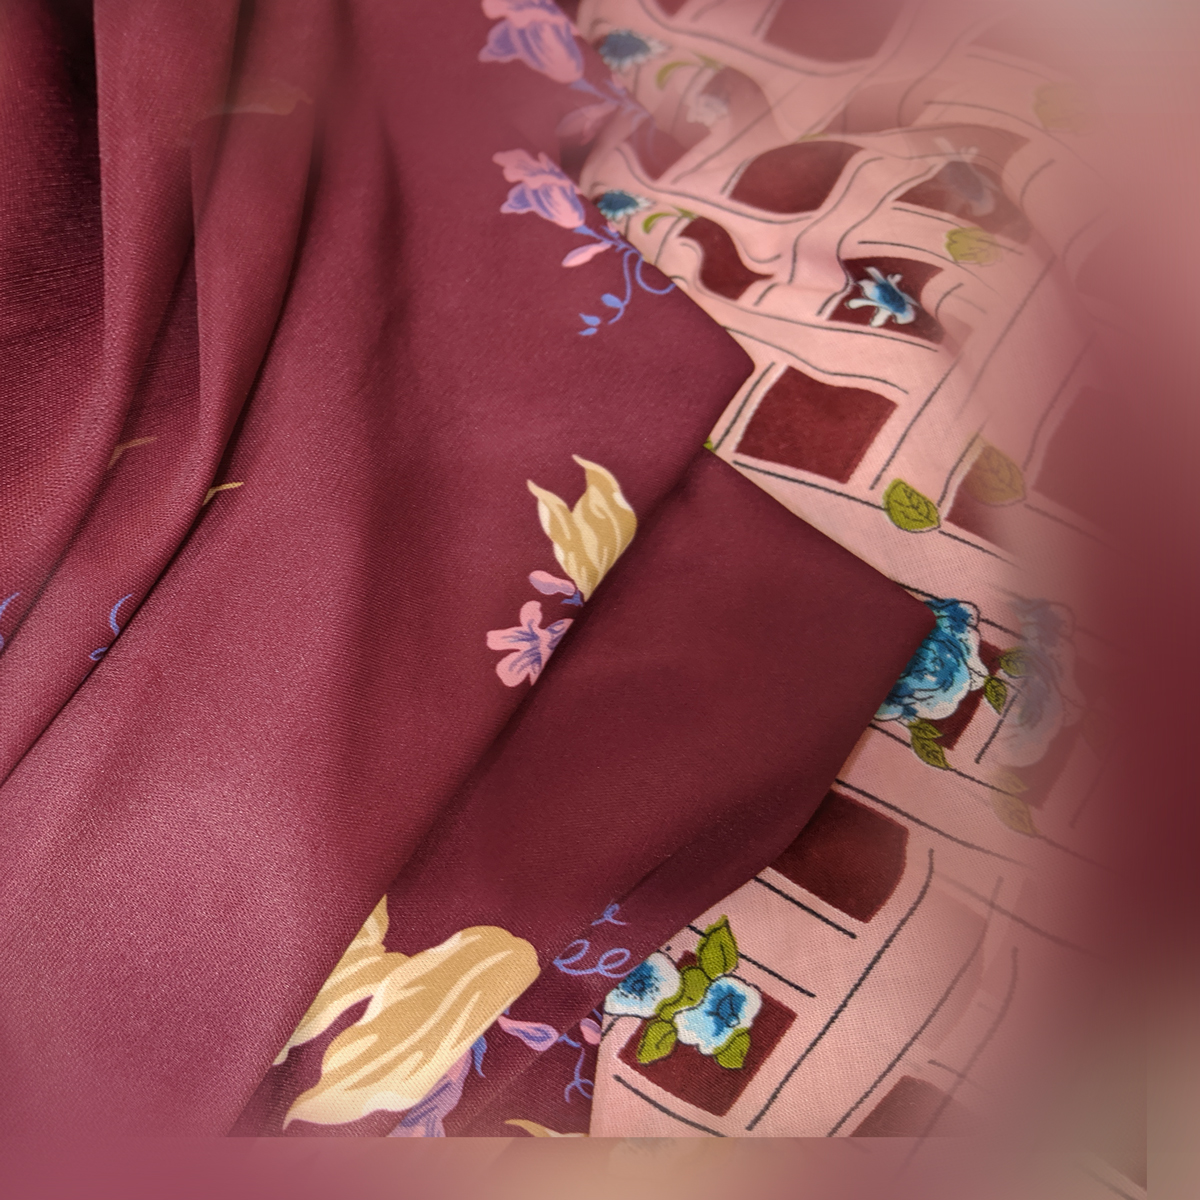
So, she found some fun satiny fabric and I got started. I really hadn’t sewed with a satin before, and it was slippery and easily frayed. I decided, because of the fraying issue and the worry about whether the fabric would be strong enough, to use French seams.
I’d never done French seams before, but a quick YouTube search and a little practice, it wasn’t hard. A French seam basically has you sew your seam with wrong sides facing, instead of the right sides of the fabric facing, as you normally would. You sew this seam at 3/8″. Then you trim the seam about 1/4″. Next you take the seam flip it over so the right sides are facing and sew you finished seam at 1/4″. You seam allowance is still 5/8″, but you have not only reinforced the seam, you’ve encased the raw edges, thus no unraveling.

Of course this meant I had to sew all seams twice, plus do some creative thinking on how to achieve each seam, since its not in the instructions, and the collar and pleats were a little tricky.
Lastly, my sister didn’t much care for the strait sleeves, but knew she wanted some sort of sleeve. So, using a modern McCall (M6024) pattern, I created these lovely flowing cap sleeves. Through not authentic, I think it works well.

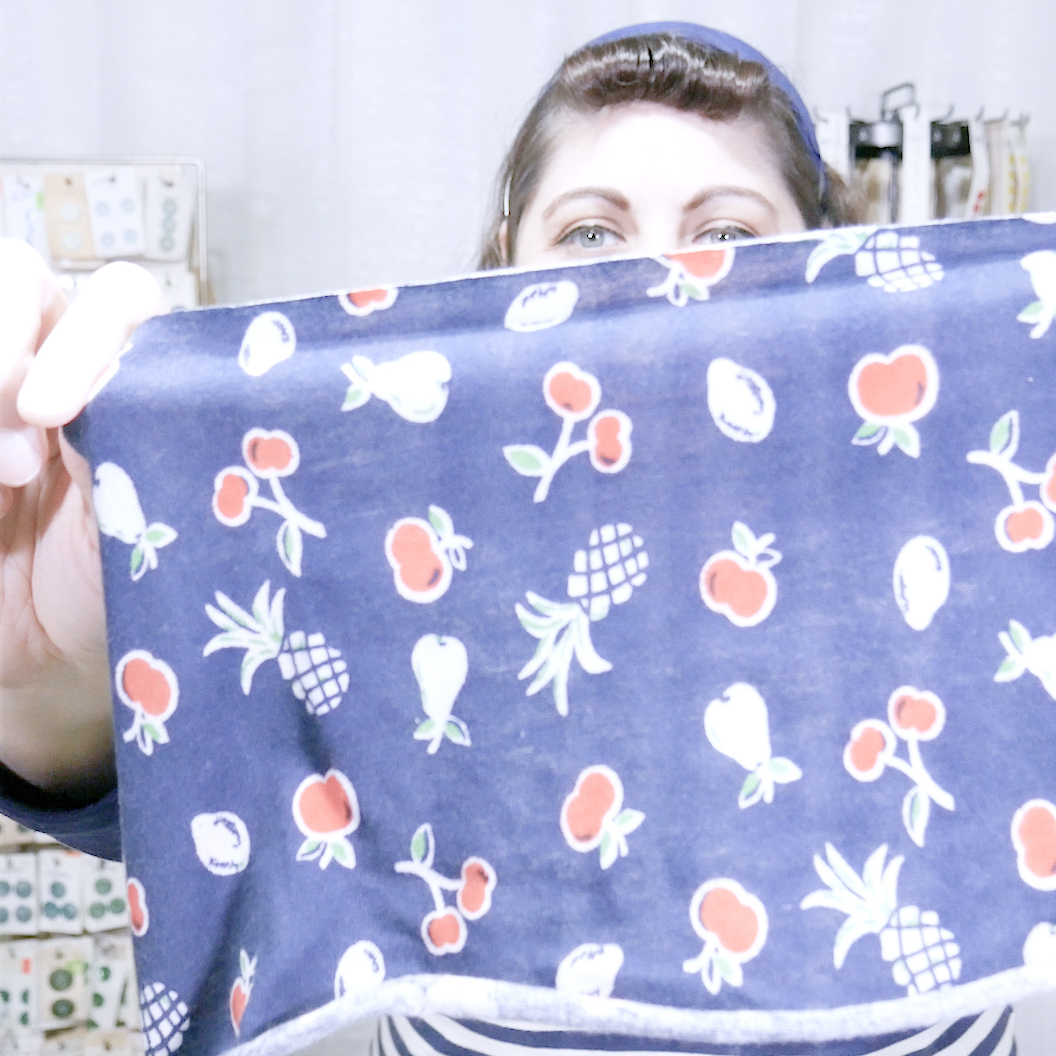
Lastly, she had some left over fabric, so I made her a scarf to use in her hair. To make the scarf, I used one of my own scarfs to measure and cut the fabric. Then I folded the strip in half, and sewed the fabric together inside out; leaving a small opening to turn it right side out. Once flipped I sewed the end close and ironed the scarf flat.

I worked a long time on this dress, longer than usual because I really wanted to get all the seams right and I wanted to impress her with my sewing skills. Overall I think it came out really nice, though a bit longer than the patter picture showed. I just hope it fits her and that she likes.


Add comment