Ugh, it’s already Tuesday afternoon! I meant to post this on Monday, but I’ve been super busy this weekend and last night I was busy making more Halloween cake pops for my student’s bake sale. Anyways, I’ve been busy with a lot of cool projects, that I hope to get up on the blog soon, that is if my nasty cough doesn’t go away. Yes, that dreaded cough of mine has returned with vengeance, and it looks like I’ll have to go back to the specialist to get another opinion of what to do for it . Well, that’s life I guess, in happier news, I’ve been working on some sewing projects, including an adorable plaid skirt.
Although I still have maternity dress projects for my sister to complete, I thought I’d take a break and work on a quick skirt for myself.
A while back I had attempted to cut out a dress pattern with this lovely plaid fabric I had bought, but I unfortunately cut the fabric wrong, while trying to adjust the pattern size. Thus, I scrapped the idea of making the dress out of the fabric, and saved the salvaged material for a future project. I’d almost forgot about this fabric when I got an email from Modcloth advertising fall plaids, and I thought, hey, don’t I have some plaid fabric I could make into a skirt.
As you may have read in the past I collect a lot of vintage patterns, and for this project I decided to use my vintage Simplicity 4579 pattern, of a 1960’s pencil style skirt. Oddly enough one of the skirts on the pattern cover even had a simpler fabric to the one I selected for this project.
The problem with vintage patterns is that more often than not a small size. In this case the waist was 28 inches, which is smaller than my 35 inch waist. I knew I needed an addition of 7 inches, but were to add them? Casey Brown’s blog has an excellent article on pattern grading, which I use to as reference when I resize a pattern. Usually a basic two piece skirt is divided into 3 cuts and then the new spacing added. Since I only needed a total of 7 inches, which is divided out among 4 pieces, I really only need to add a total of 1-3/4 inches to the pattern pieces. Since It was a small amount and I didn’t want to worry about changing the pleat locations, I just added the 1-3/4 inch to the center instead of throughout the patter. Call me lazy but it seemed to work okay.
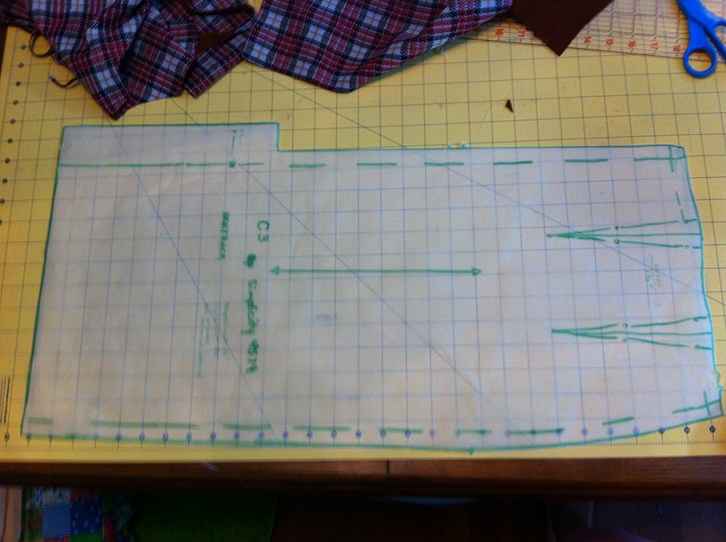
I try my best to keep all my vintage patterns in good condition, so i always start by tracing them on tracing paper first; this is also helpful when grading the pattern.
- Here’s my traced pattern
Besides copying all the important information from the pattern to the tracing paper, I also write down all the grading information, so I can remember how I adjusted the pattern.

Once the pattern was adjusted I got to work on cutting out the fabric. I took special care to try and get my plaid to match up and I feel like a did a fairly decent job.

All the skirts I did in the past I would get nervous about fitting me, so I over compensated by adding a few inches. Needless to say they turned out too big, and are setting in a pile of clothes to be adjusted. Thus for this skirt, instead of fretting about the size, I just used the measurements of a store-bought skirt that I knew fit me well.
Measuring exactly 35 inches in the waist, the skirt fits like a glove. I really like how it came it. It’s just prefect for autumn and it just so happens I had a sweater that went perfectly with it.

I really like the skirt, it’s got to be my favorite so far. I enjoyed it so much I paired it with not only a matching sweater, but with one of my vintage hats and vintage left pin. The whole outfit was rather autumn feeling and I had a little too much fun posing for pictures.


Add comment