
This post contains affiliate links – see full disclosure
I love the nautical home decor, in fact, our bedroom has a lovely vintage Victorian beach theme to it. Or at least that’s the premise.
It came to my attention one day that both I and my husband needed a small basket on our nightstands to hold keys and other small items. Obviously, I wanted something nautical in theme and I didn’t want to pay a lot for it. Also, I had a specific size in mind.
DIY Rope Basket
Cost and size were a big factor when I was trying to find the right basket for my needs. Then I realized that a Cool Whip container was just about the right size I needed for this project.
I love recycling otherwise useless garbage into something useful. So, as it so happens I had a few empty and washed Cool Whip containers lying around.
With the Cool Whip container in hand, I decided to make a faux DIY rope basket.
| DIY Rope Basket | ||||||
|---|---|---|---|---|---|---|
| What You Will Need |  |
|||||
|
||||||
| Instructions: |
|
|||||
| Notes: | Be careful when gluing not to burn yourself. Also if you are holding the container from the inside beware that the plastic is thin and you may still feel the heat of the glue on the inside. | |||||
| Difficulty: | Easy | Ratting: | ||||
Cool Whip Container
The first step was to remove the ink on the Cool Whip container. Granted the outside of the container would eventually be covered, but since the plastic is so thin the ink can still kind of be seen on the inside. So, I decided to remove the ink altogether.
I found a really quick DIY on Pinterest where they used nail polish (acetone) remover to remove the ink on plastic containers. I was skeptical at first, but it worked great.

After removing the label I rinsed the bowl and patted dry with a paper towel to remove any excess nail polish remover.
Gluing Rope
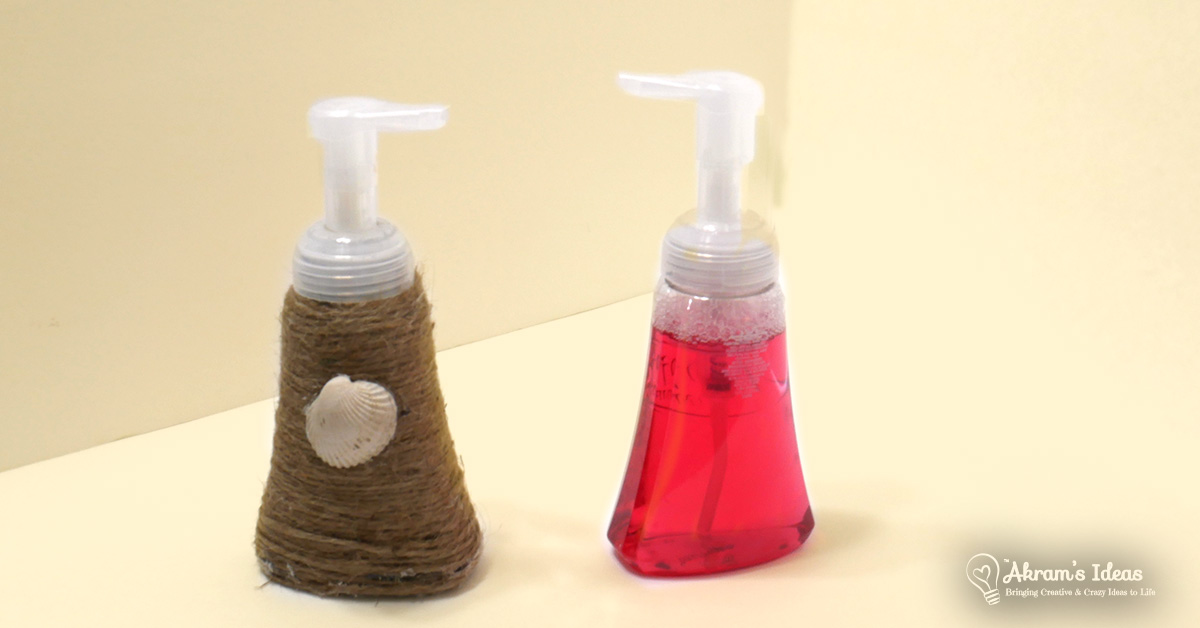
To create my nautical inspired rope basket I basically used a glue gun and warped rope around the container.

I used some rope I had bought for a decorating project from Walmart. The closest thing to the rope I bought would be Twisted Sisal Rope at 3/8 inch I believe.
When gluing the rope to the container be careful. I had my hand on the inside of the container to hold it as I rolled the rope around it and glued it. The plastic is thin so I sort of burned myself from the inside. Not as bad if I touched the glue on the outside, but still warm.

I also found that holding the rope tightly in place as you glue kept it from sagging. My rope was pretty thick so it took more glue and a tighter bind to keep it in place. If you are using a thinner lightweight rope you might not have to hold the rope so tight to keep it well bond.

My rope also had a lot of fray bits, probably because I was using cheap rope. To keep the basket looking tidy I used a pair of scissors to gently cut away any frays around the basket.
Final Results
I love the final results of this project. These DIY rope baskets are the perfect size for my needs and a wonderful decor piece. The whole project pretty much cost me nothing, since I recycled used Cool Whip containers and I already had the rope.

I think I might make a few more of these little baskets for other places around the house. They are just so cute and so easy to make. Seriously it probably took me about 10 minutes to put together.


Add comment